JP CE Switcher Pro
Article Index
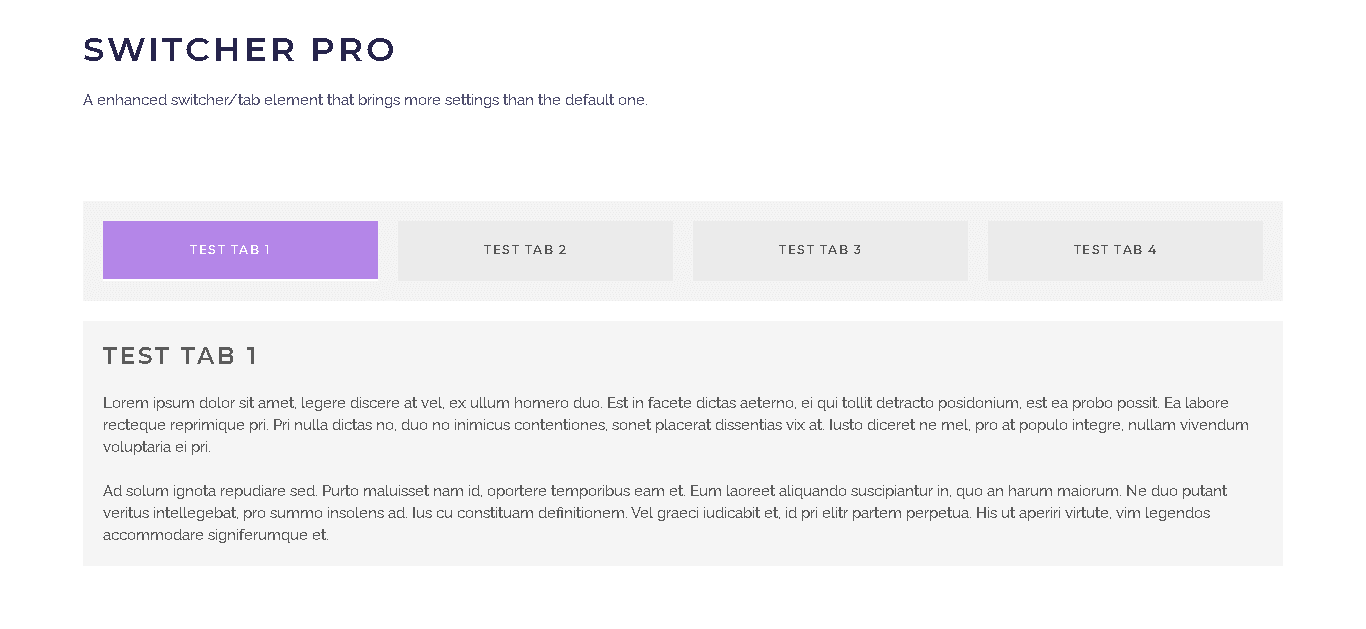
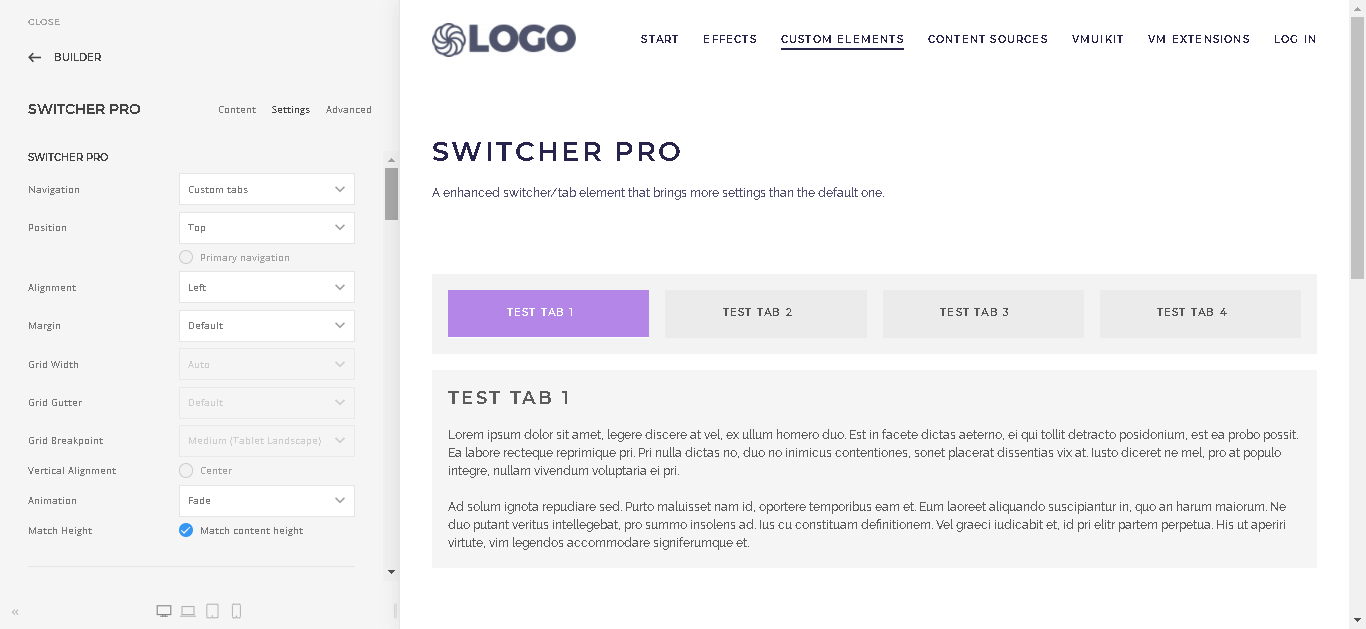
We trust that every element is great to expand the existing element list of Yootheme PRO and offers you a lot more design opportunities for your joomla sites. Our switcher/tab element that brings more settings than the default one.
How to install & use:
- Download JP CE Switcher Pro custom element latest version plugin from product page.

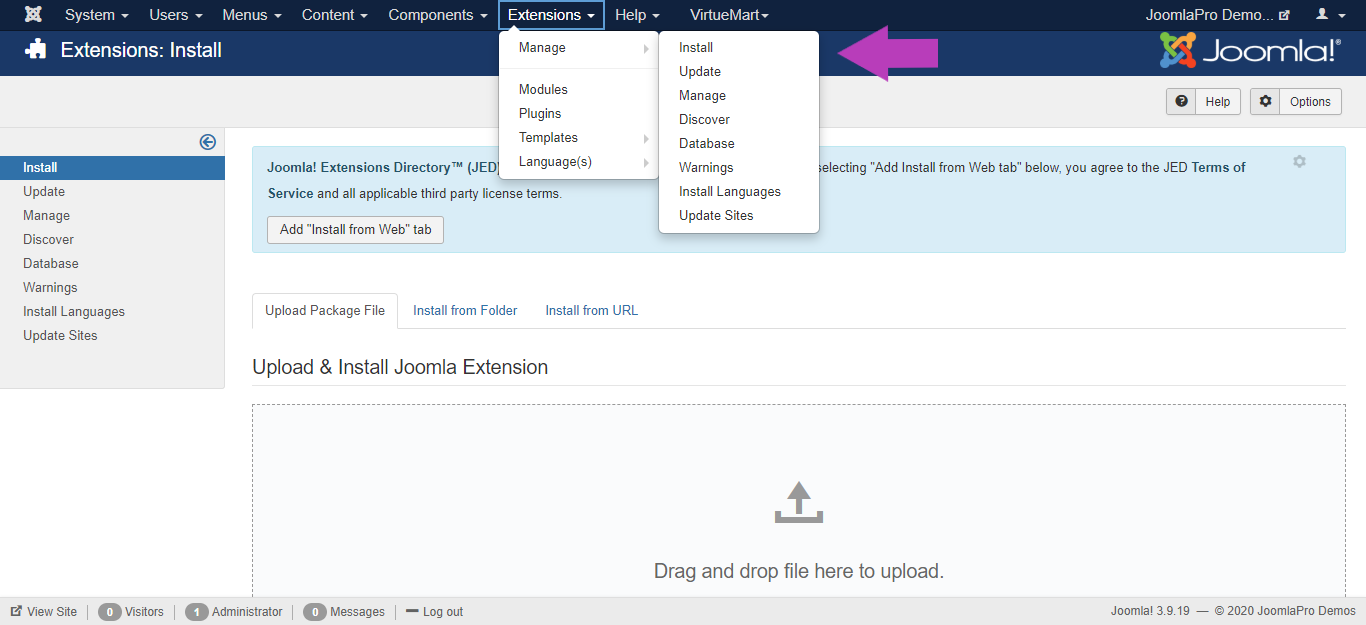
- You can just install the JP CE Switcher PRO using the "Joomla Extension Manager", click “Extensions -> Manage -> Install”(like you install any other plugin extension for Joomla).
- From the main joomla menu click “Extensions -> Plugins”. Use the Search or Filter feature to find the installed JP CE Switcher PRO and then make sure the installed plugin is enabled.

Add the new custom element:
- Now open "YOOtheme" website builder inside the Joomla admin and edit the page you want to add the installed "JP CE Switcher Pro" custom element .
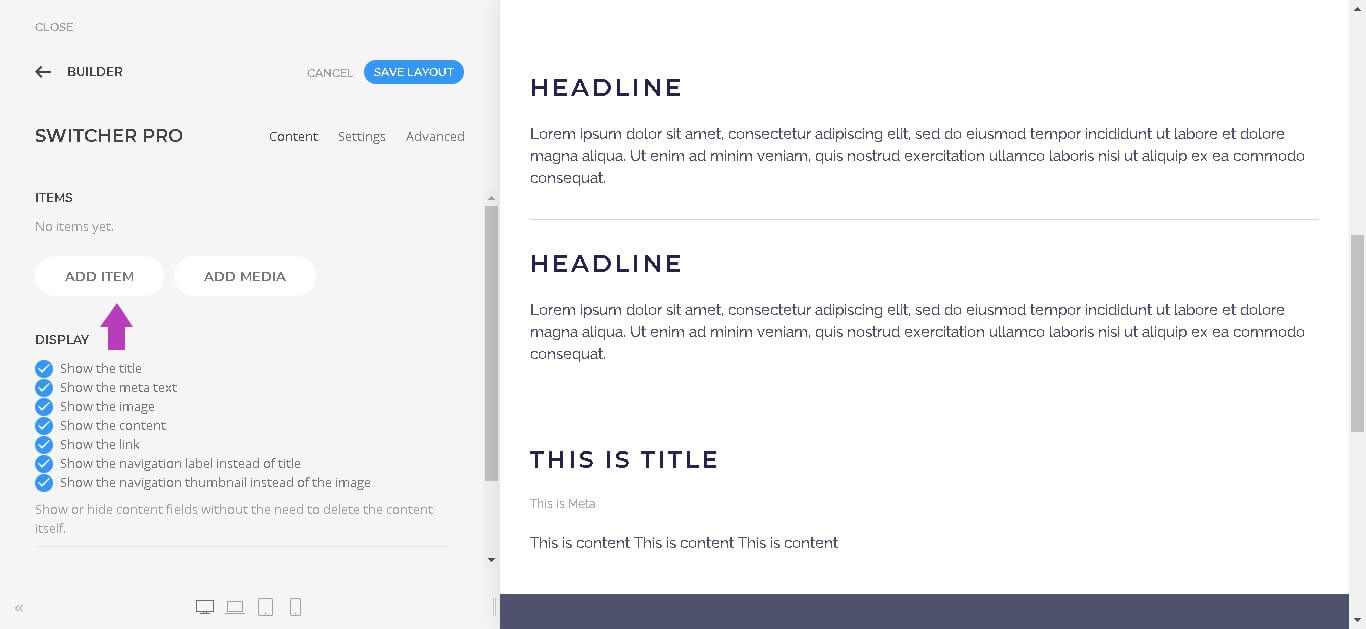
- Then you can easily add installed "JP CE Switcher Pro" custom builder element in Yootheme PRO Website Builder.


- To create a new switcher tab item using "ADD ITEM" button.
- You can add the tab content under "Content" tab.
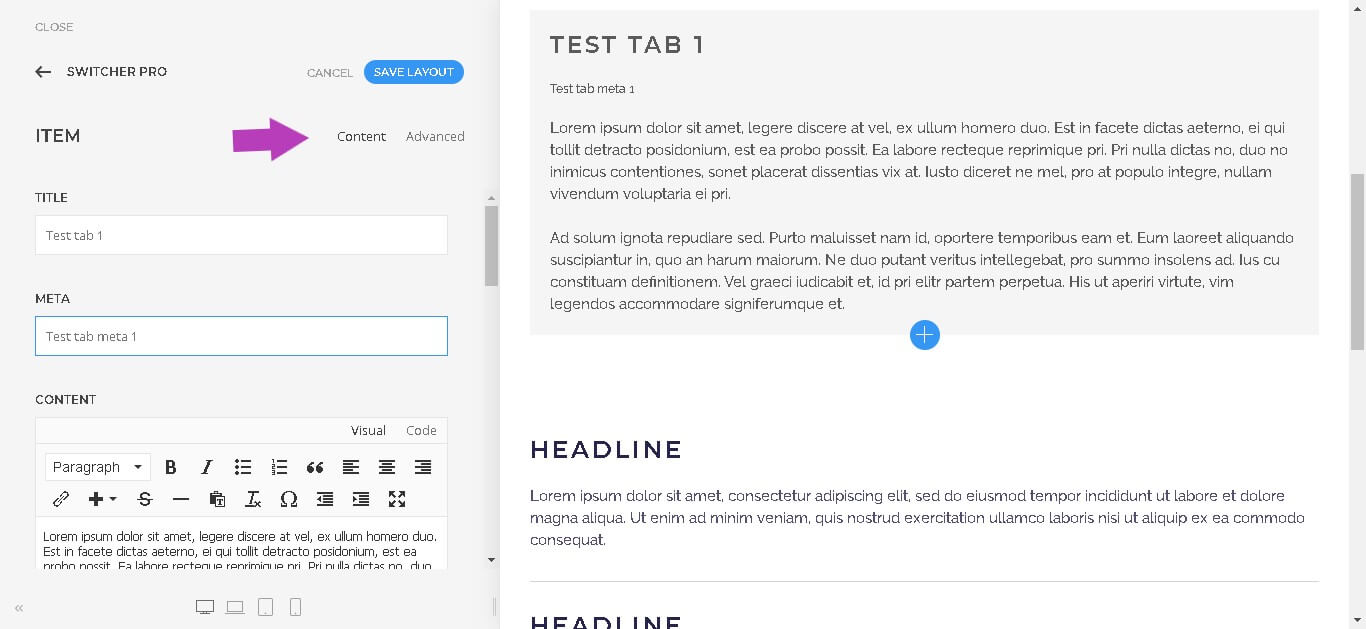
Select the content type of the Tab using "CONTENT TYPE" option.
- "Content" -> Define a new content in the editor which is used as a content.
- "Module" -> Select any of the different predefined list of modules.
- "Section" -> Displays the specified yootheme builder section id content.
How to use "Module" option
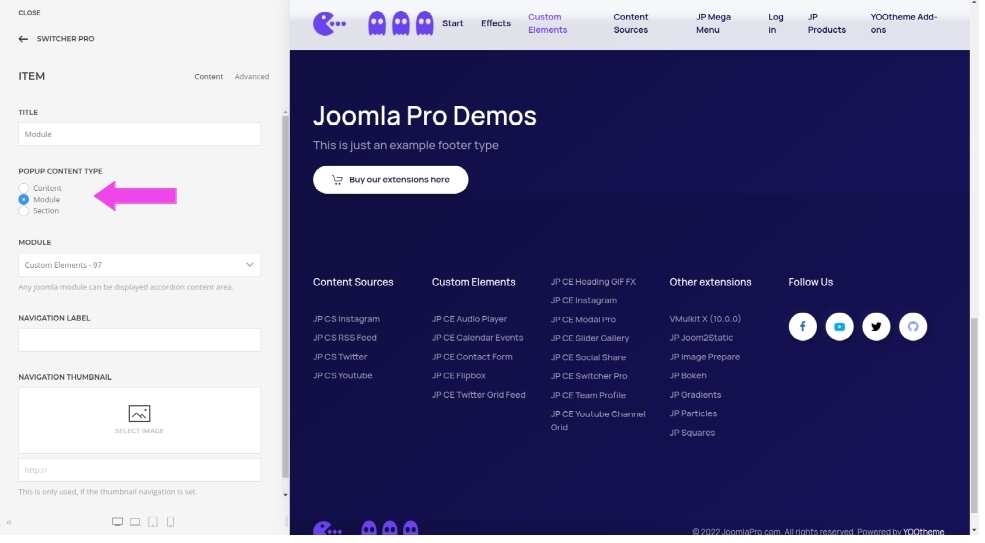
- From the list of modules, select one module or widget in which its content will be used in the tab.
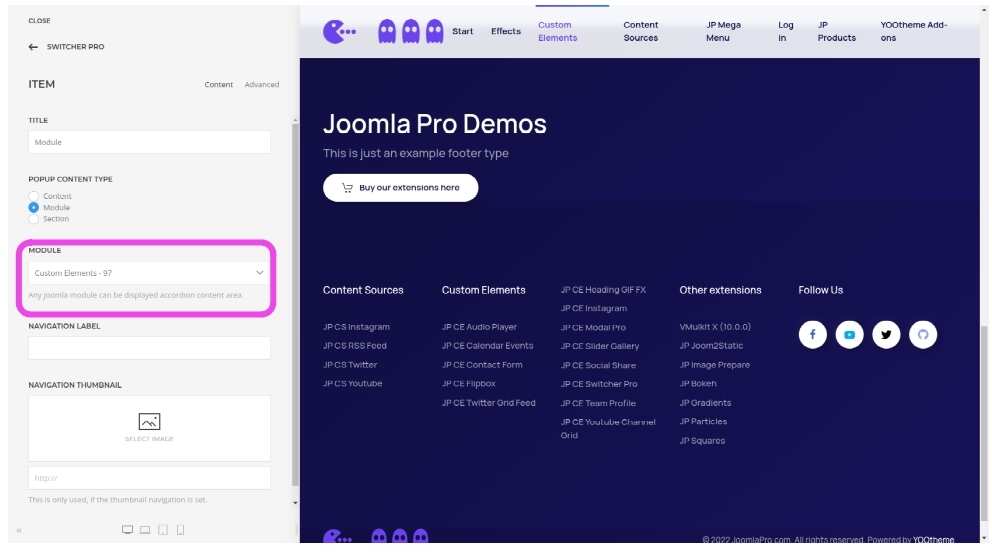
- Once finished all the settings for the element , Click "Save layout" and "Close" the website builder.
How to use "Section" option

- Create a new section in the page with its content based on your requirements.

- Give a unique id to the section under advanced tab.

- Enter the unique section id created alraedy in which its content will be used in the tab content.

- Once finished all the settings for the element , Click "Save layout" and "Close" the website builder.
How to use "Custom Thumbnav" option
- Create a different section in the page with the content based on your requirements and configured with switcherpro items using unique section ID.

- Add the image file to the "NAVIGATION THUMBNAIL" settings in the JP CE Switcher Pro item.

- Set the "NAVIGATION" option as "Custom Thumbnav" in the JP CE Switcher Pro element settings.
- Also set the custom Tab Params like Nav background color, Active tab color etc... as per your needs.


- Once finished all the settings for the element , Click "Save layout" and "Close" the website builder.

- You can create more tabs as per your requirements.

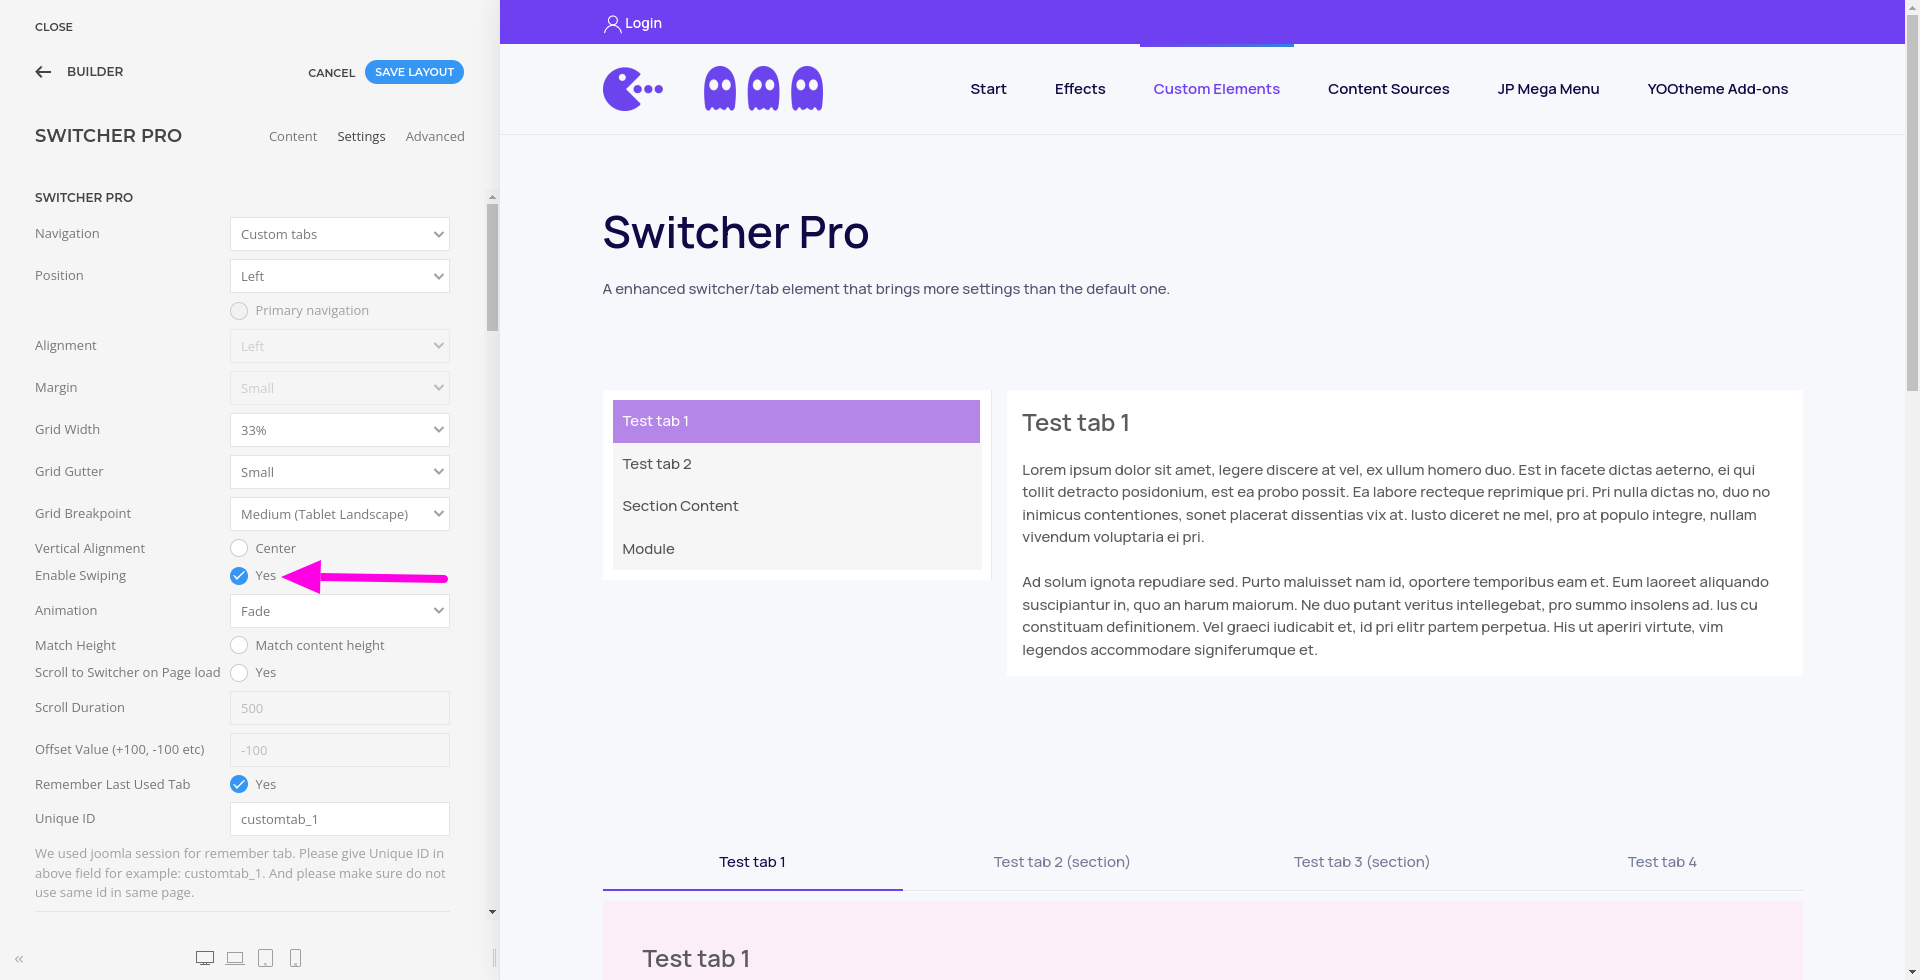
- You can customise the view of the added tabs under "Settings" tab in which how it will be displayed in your website.

- Enable "Scroll to Switcher on Page load" option to link the switcher pro section on page load. Also set the scroll duration and offset value.
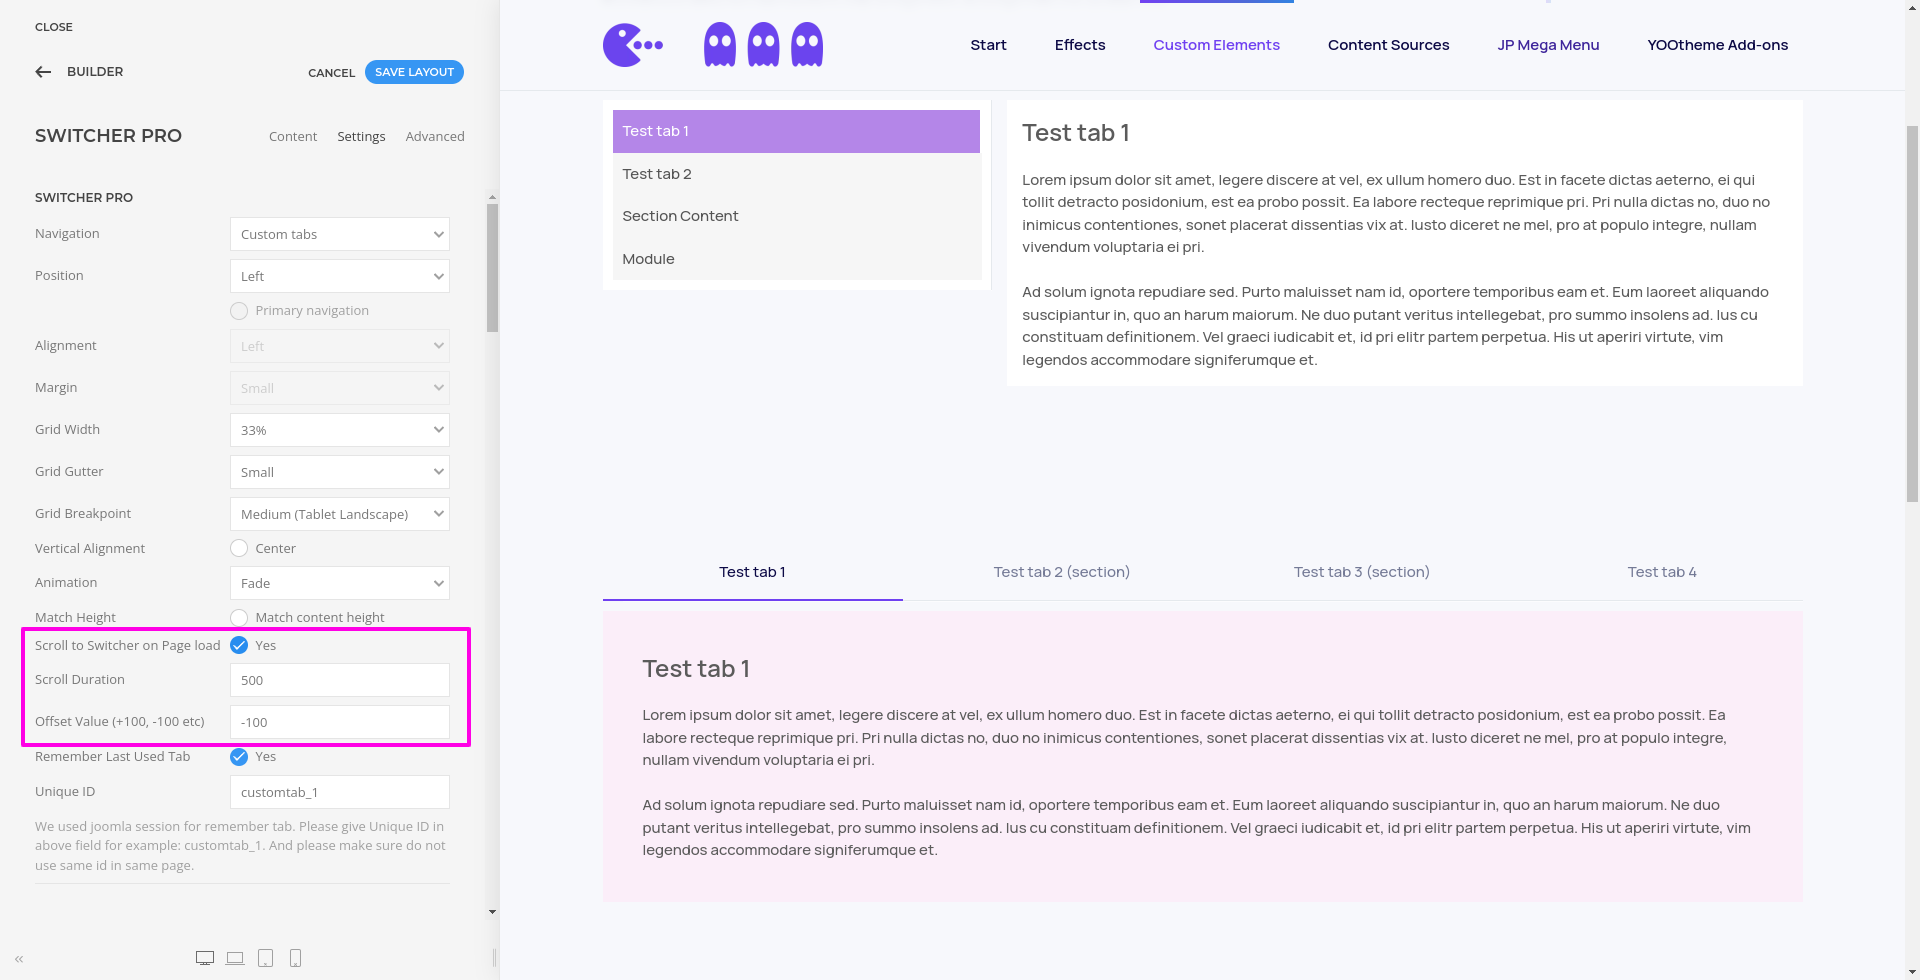
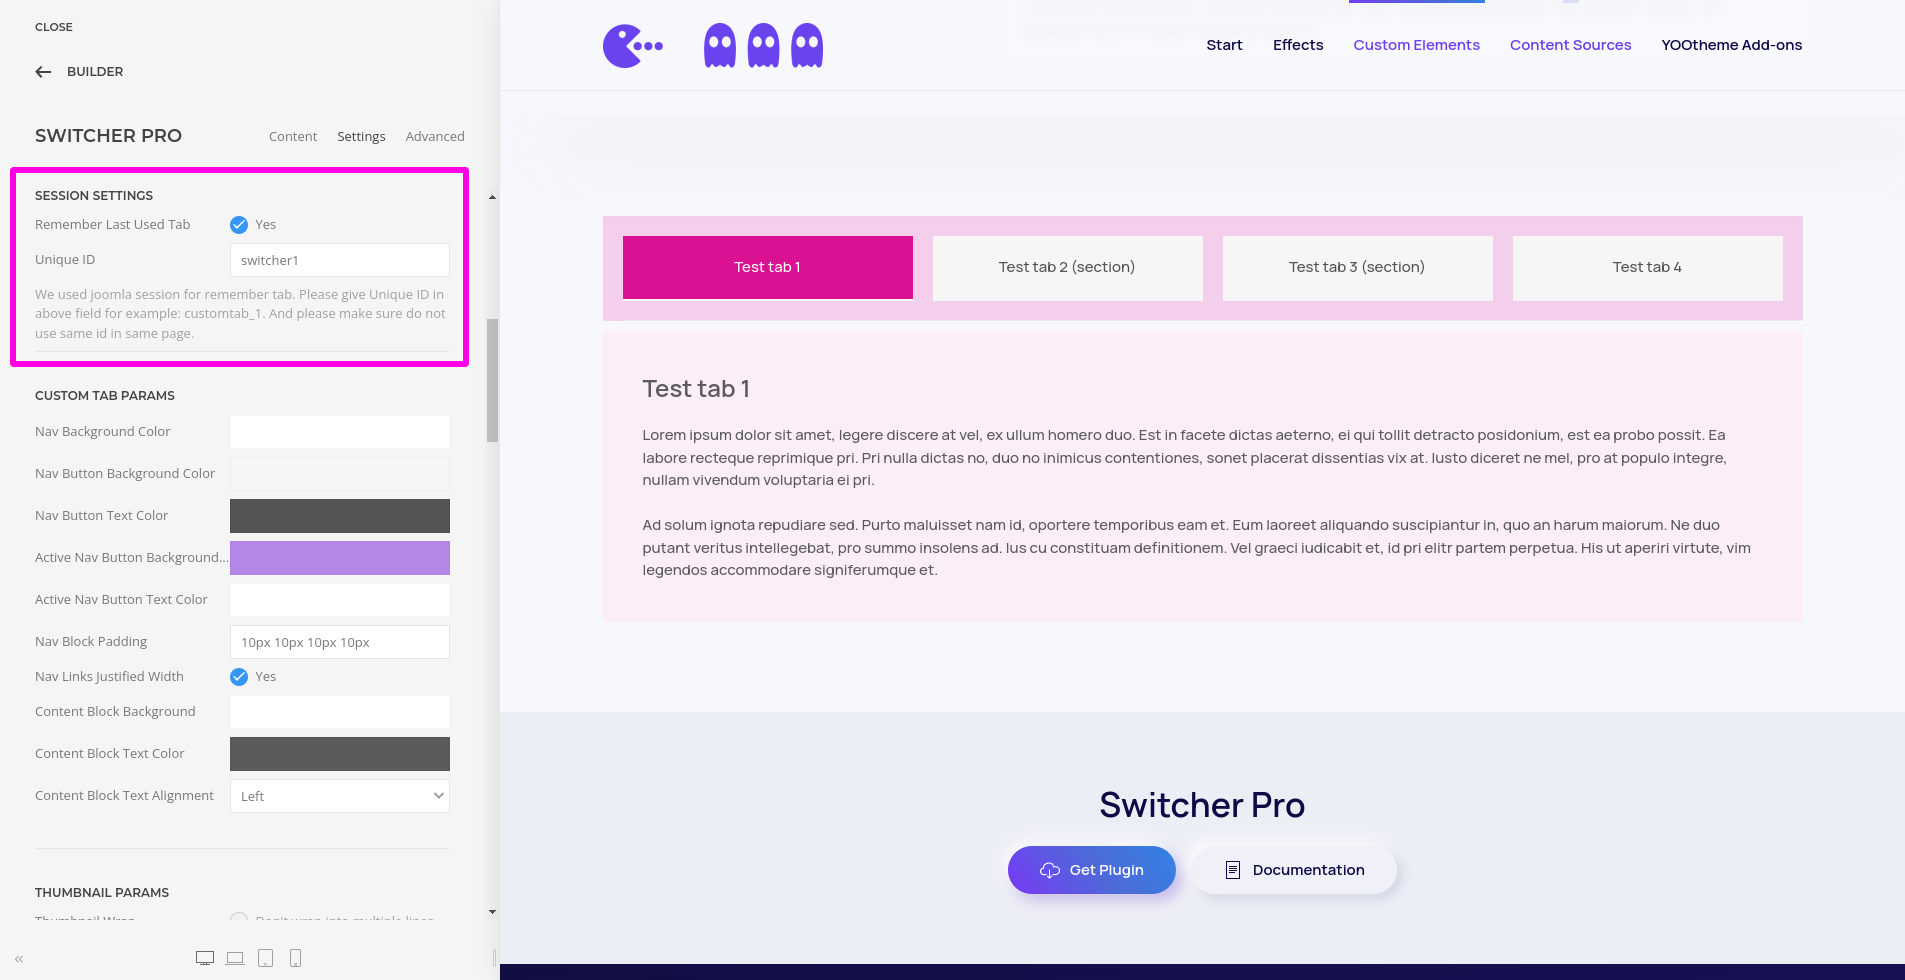
- Enable "Remember Last Used Tab" option to stay on the last active tab during page refresh.
- Enter "Unique ID" for the switcher pro to make the last active tab working.
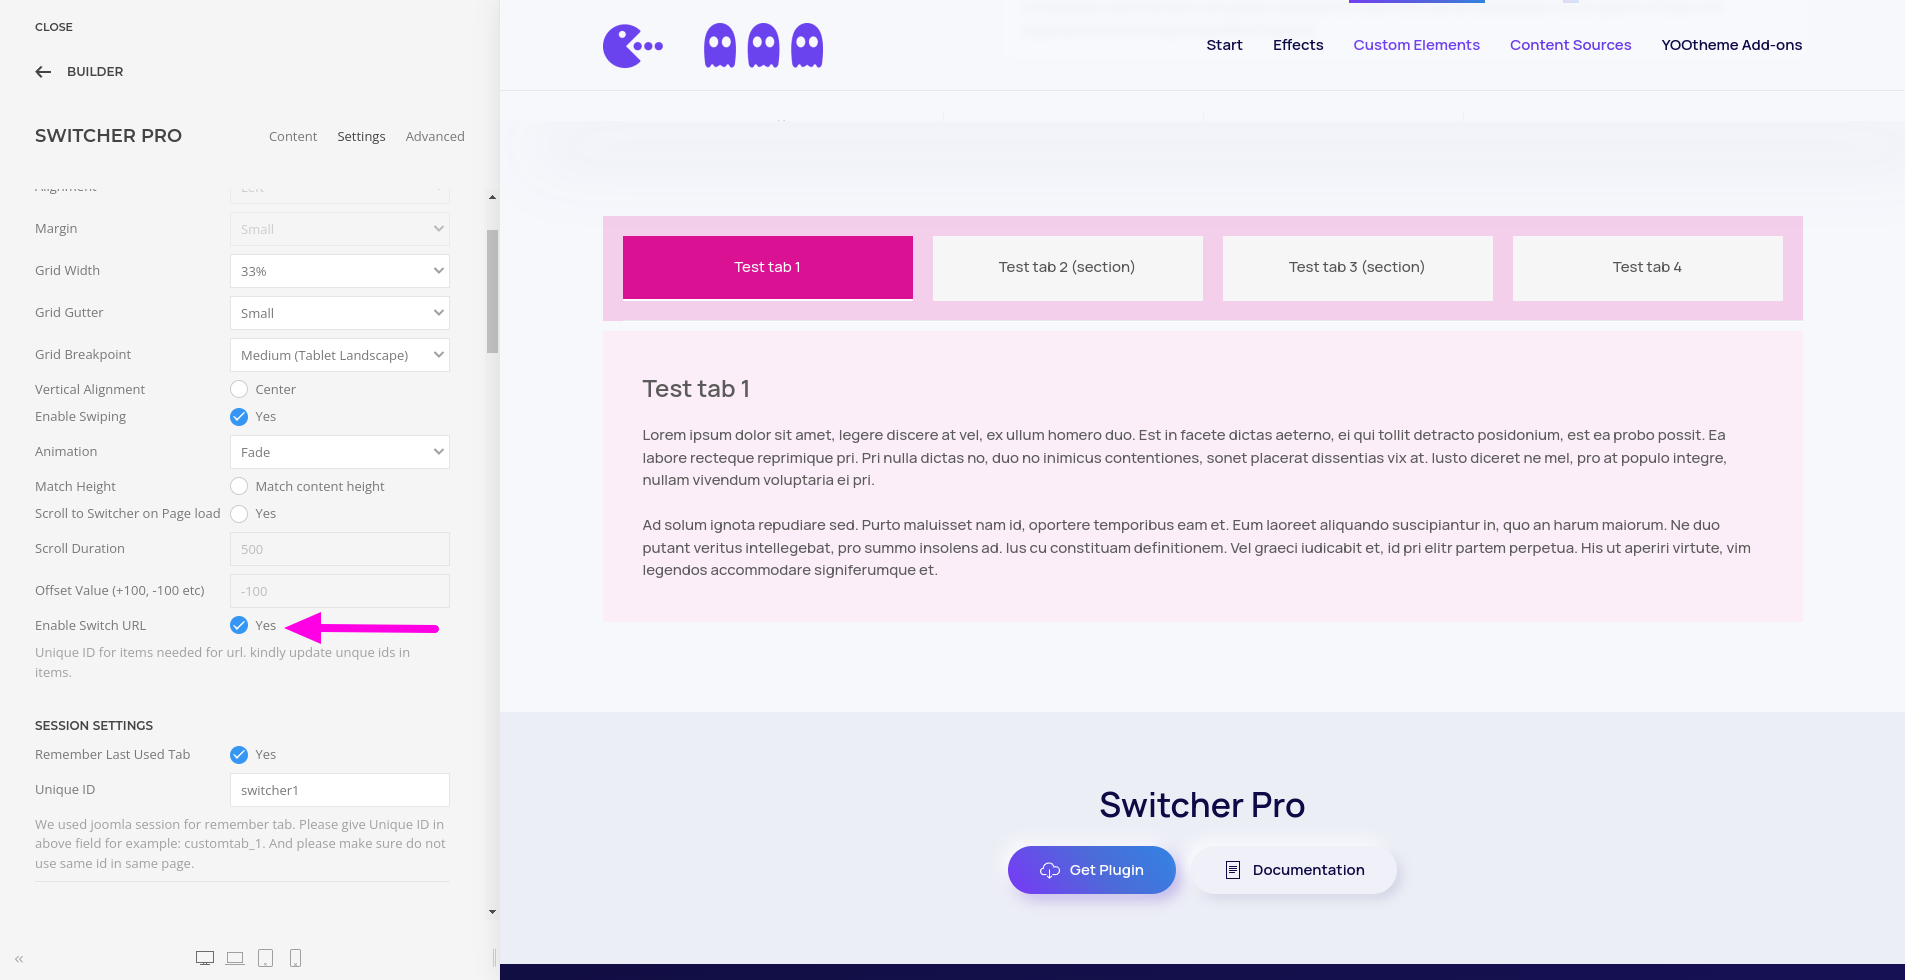
- "Enable switch URL" - to create URL for every tab, for example user can access this tab using URL like https://example.com/#secondtab where "secondtab"- unique id of second tab. Please make sure ID should be unique in each page.
- Enable Swipping - Allows to navigate to tabs using swipe function (mobile).
- Once finished all the settings for the element , Click "Save layout" and "Close" the website builder.
Video Tutorial
Have a look of "JP CE Switcher PRO" output.